
We Were Here Tomorrow Rehabilitation Suite Door Puzzle Solution (first puzzle: monitor pictures and devices)
Updated 21 Oct 2026 · Game version: Launch build (October 2026) · By the Indie Walkthrough crew
The answer in one line
Yellow (at the desk with the monitor and three blue buttons) presses a button, waits for the monitor to cycle through three pictures and reads them out in order. Red works the devices shown in that same order. In our session the order that opened the door was motor, circle thing (a round ring device), lever.
The pictures can change while you work, so read the full cycle again before every attempt. The steps and the Logistics room after it are below.
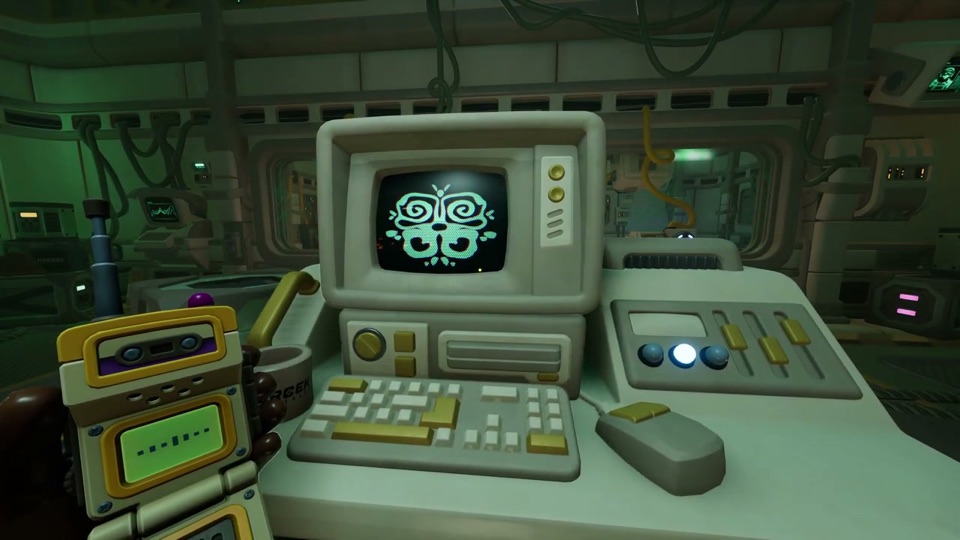
Where the puzzle is
The first room after the intro walk across the ice and the wake-up talk from the doctor on the screen. The two explorers are in neighbouring rooms.
Yellow explorer (purple-striped walkie-talkie): a desk with an old NORCEK computer, three round blue buttons and three yellow sliders. This player sees the clue.
Red explorer (red-and-green walkie-talkie): three small screens on the wall that show a red X while the door is locked, and several input devices around the room, wired to a box by the door. This player works the mechanism.
Not sure you’re in the right place? Search for your room in Quick find tool.
What you need
- Walkie-talkie: hold your push-to-talk key the whole time you speak. Only one of you can transmit at a time; talking over each other cuts both out.
- No items for the door. A canister turns up in the next room (Logistics).
Step by step
Yellow (desk): press a blue button and watch the monitor
Press one of the three blue buttons on your desk. The monitor starts cycling pictures, and one blue button lights up for each picture (first, second, third). Watch one full loop before you say anything.
Red (device room): list your devices
Tell your partner what you can use. In the session we watched, red had four input devices, among them a button, a pull lever, a pressure plate you stand on and a wheel. Give each one a simple name you both agree on.
Inferred: pieced together from our sources, not shown step by step in a video
Yellow: read the three device pictures in order
The monitor shows green line drawings of machines. Say them in the order the buttons light up, for example: "First the motor box, second the round ring thing, third the lever." Describe the shape, not your guess at the name, so red can match it to a real device.
Red: use the devices in that order
Work the devices one after another in the order yellow read out. There is no feedback until the whole sequence is right.
Yellow: check for the tick
When the order is right, the monitor shows a large white check mark and all three blue buttons stay lit. The door opens. If the pictures change instead, read the new loop and try again.
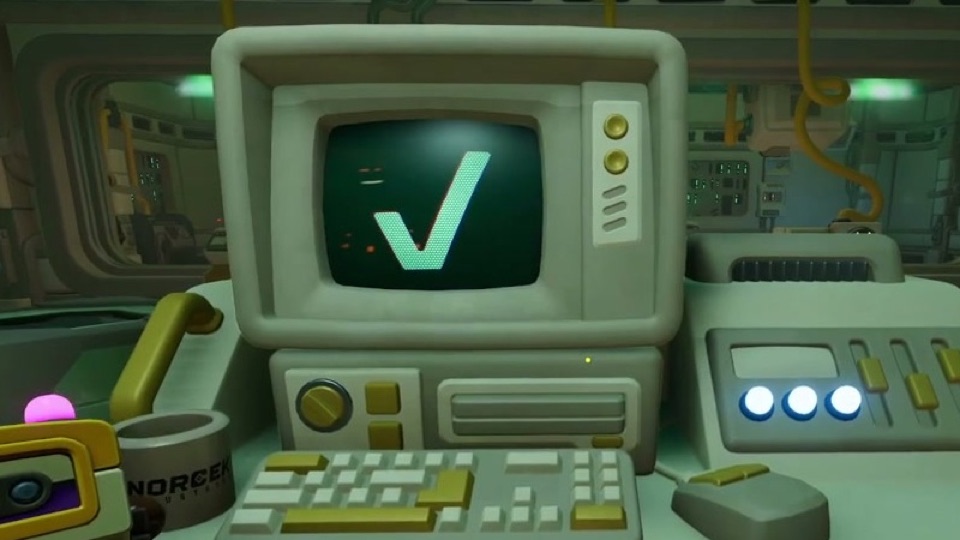
Frame from “We Were Here Tomorrow! AMAZING Co-op Puzzler with Zedaph!” by Tango Tek. Watch at 23:33 Logistics: swap doors and pass the canister
Next is the Logistics room. Yellow has a yellow steering wheel and a lever; red has a keypad console and a pull bar. Turning the wheel opens one of red's doors and closes another. Red picks up a canister from the room that opens and puts it in their socket, the lever passes it across to yellow's socket, and then yellow can use it. Finish by both pulling your levers. We only have short clips of this room, so treat the exact order as a guide.
Inferred: pieced together from our sources, not shown step by step in a video
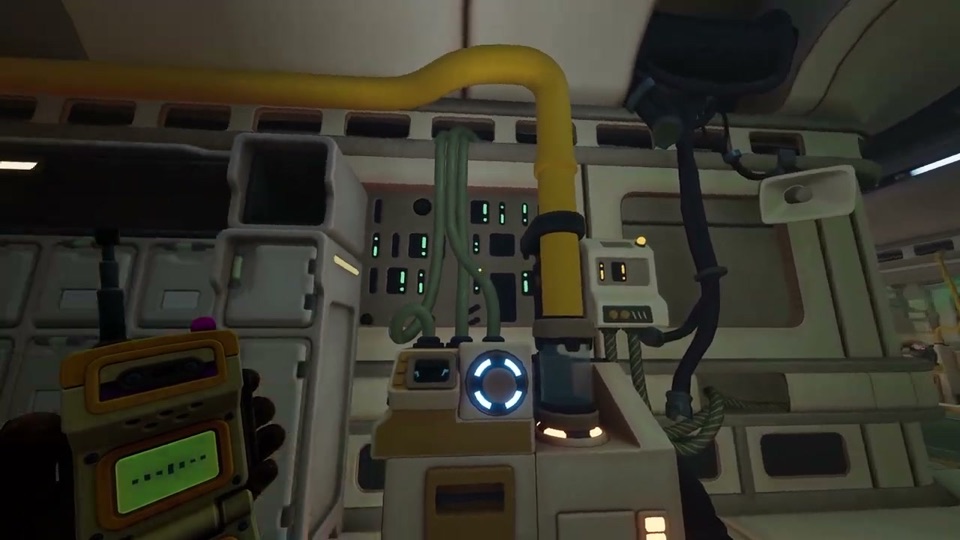
Frame from “WE WERE HERE TOMORROW Gameplay (PC 4K 60FPS) - No Commentary” by fgw. Watch at 14:00 Common room and the double pulley
The way on leads through the Common Room (a news radio plays, and a jigsaw piece on the table can be picked up). The exit to Research & Development is a double pulley: both of you grab the handle bar and pull together.
If it doesn’t work
- We did the order and nothing happened.
- The picture loop can change between attempts. In our session the first order read out (conveyor belt, motor, lever) did not open the door; the loop then showed motor, circle thing, lever, and that worked. Read a fresh full loop before each try.
- Is the answer always the same?
- Probably not fixed. The no-commentary playthrough showed different emblems on the same monitor (an ornate butterfly-like emblem and a ring emblem), so read your own monitor rather than copying an order from a guide.
- My partner can't hear me.
- Check which key is push-to-talk and keep it held while you speak. If you both talk at once, neither message gets through.
- What is the "circle thing"?
- Most likely one of the round devices with a ring of lights. Match it by shape; if two devices look round, try each.
Sources
- WE WERE HERE TOMORROW Gameplay (PC 4K 60FPS) - No Commentary by fgw Timestamps used: 8:00–11:17 (desk monitor), 12:00–16:22 (Logistics, Common Room)
- We Were Here Tomorrow! AMAZING Co-op Puzzler with Zedaph! by Tango Tek Timestamps used: 16:39–23:33 (door), 24:07–29:44 (Logistics), 30:17–31:51 (Common Room, pulley)
- The Puzzle Boys are BACK!!! Playing Co-op Puzzler by Zedaph Timestamps used: 18:55–25:56 (red side of the door)
Spotted a step that’s wrong? Tell us and we’ll fix it and update the date.
indiewalkthrough isn’t affiliated with Total Mayhem Games.