
We Were Here Tomorrow Time Loop Puzzle Solution (null time, ghosts, four crystal shards)
Updated 26 Oct 2026 · Game version: 1.1.1 · By the Indie Walkthrough crew
The answer in one line
Each loop lasts about 58 seconds (a voice counts SIX down to ZERO) and only starts once you leave the bubble. Whatever you do in a loop is replayed next time by a ghost of you, up to two ghosts per player. Use them to hold the pressure plates and levers that route the purple lasers into the pink crystal orbs. Each burst orb gives a crystal shard; you need four. Burst orbs come back when the loop resets, so the final ones have to break in the same loop.
A pulley resets the timer early, which is handy when a recording goes wrong. With two ghosts each, the two of you have six bodies to work with in the last loop.
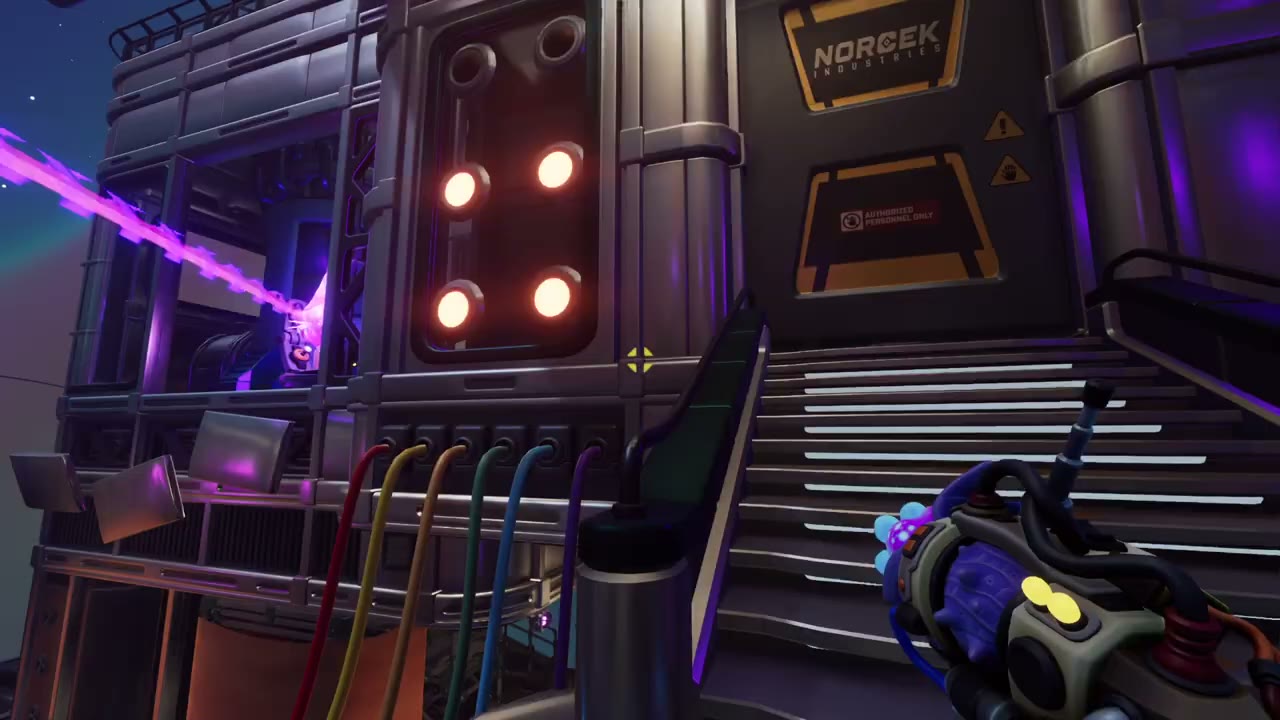
Where the puzzle is
Right after the greenhouse plant puzzle: you put the seed in the time machine in the orrery room, the screen goes dark, and you wake in purple-sky ruins of the castle and the Temporal Research Centre.
A voice says you also have "a bubble of null-time". The bubble is safe: the clock doesn't run while you're inside it.
Not sure you’re in the right place? Search for your room in Quick find tool.
What you need
- Both players. Agree on who does what before each loop; you only get about a minute.
Step by step
Look around from the bubble first
The countdown only starts when you leave the bubble, so scout first. Find the pressure plates, the levers and the lift, the laser towers aimed at the pink crystal orbs, and the pulley that resets the timer. Plate signals take a moment to travel along the cables.
Record a ghost
Leave the bubble and the loop starts: SIX, FIVE … ZERO, about 58 seconds. Do one job, for example stand on a plate, hold a lever or ride the lift, and let the timer run out. At ZERO the screen flashes white and the loop starts over. The game sums it up as "making ghosts, but the ghost is you".
Stack up to two ghosts each
Next loop, a ghost of you replays what you just did, so you are free to do a second job. The game caps it at two ghosts of yourself, so each player has three bodies in the final loop: two ghosts and the live you. If a recording goes wrong, pull the pulley to reset and record again.
Burst the crystals and collect four shards
Use the ghosts to hold the plates and levers that route the purple lasers into the pink orbs. A hit orb bursts and drops a crystal shard ("find the other three"). Burst orbs reset with the loop, so plan the last loop so the remaining orbs all go together.
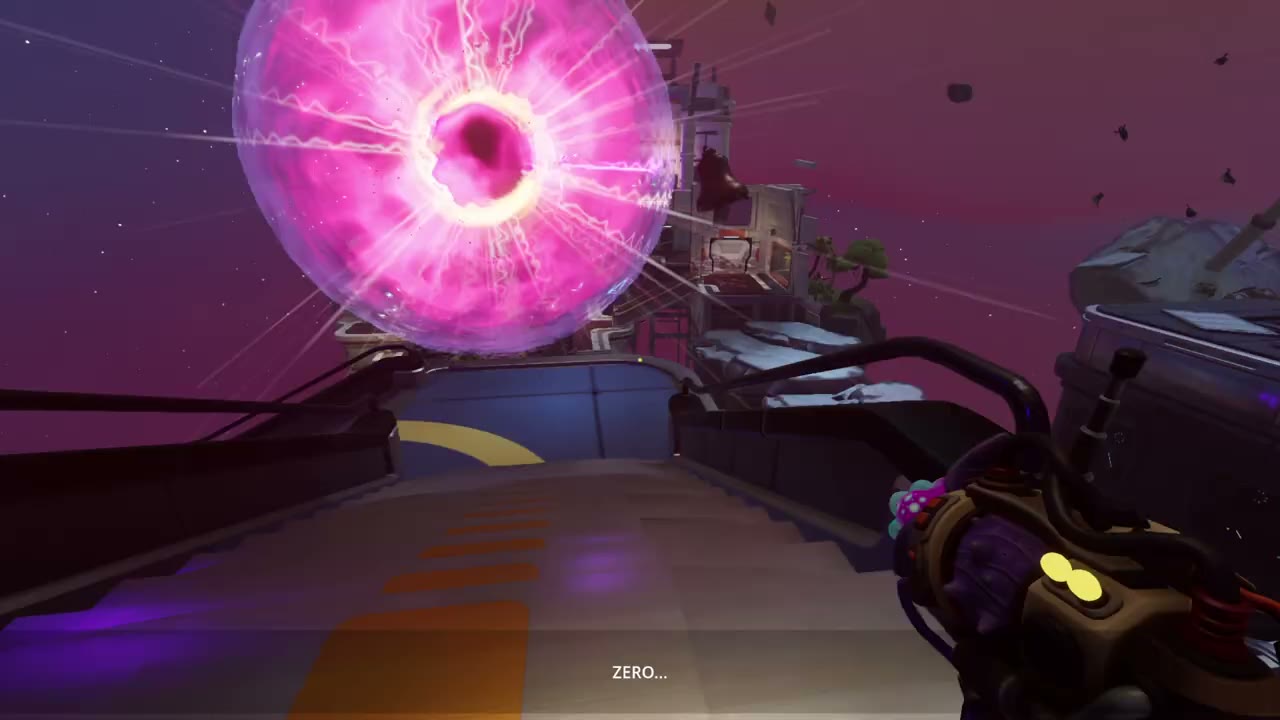
Frame from “We Were Here Tomorrow - Part 3 (Finale)” by Zero Reviews. Watch at 0:08:30 Let it overload
When the last orbs go, the countdown ends with SYSTEM OVERLOAD and "It's going to explode!". A story scene follows, then the transit to Rift Zero, where the rune puzzles are.
Three teams played this loop on video: Darlom’s pair, a French duo, and Zero Reviews with Crystal Dreams (one session, both views). The loop works the same for all of them: the countdown, the two-ghost cap, the four shards and the reset rules. Each team worked through the plates and levers in its own order over 30 minutes to an hour, so this page explains the rules and the plan rather than one exact sequence of moves.
If it doesn’t work
- The crystals I broke came back.
- They reset with every loop. Record ghosts for the early orbs so that every orb bursts in the same final loop.
- My ghost is doing the wrong thing.
- It just replays your last loops. Pull the pulley to reset and record again.
- How many ghosts can I have?
- Two per player. The game says so on screen, even though it's easy to think it's three.
- The timer started before we were ready.
- Go back to the bubble and plan there; the clock only runs once you step out.
Sources
- We Were Here Tomorrow - Part 3 (Finale) by Zero Reviews Timestamps used: 0:05:30 (bubble of null-time), 0:06:15 (making ghosts), 0:07:32 (two ghosts), 0:08:42 (first shard), 0:13:26–0:14:24 (one full countdown), 0:39:46 (overload)
- We Were Here Tomorrow with @zer0Reviews (Part 3 - Finale) by Crystal Dreams Timestamps used: 0:04:45 (making ghosts), 0:06:00 (two ghosts), 0:07:10 (first shard), 0:38:16 (overload)
- We Were Here Tomorrow Can A Couple Solve All The Puzzles? (day 3) by Darlom Timestamps used: 0:56:20 (pulley resets the timer), 1:03–1:20 (plates and lift), 1:28:41 (crystals reset), 1:44:34 (timer starts when you leave the bubble), 1:55–2:01 (final loop)
Spotted a step that’s wrong? Tell us and we’ll fix it and update the date.
indiewalkthrough isn’t affiliated with Total Mayhem Games.